How to test soil before fertilizing Practical guide to pre-fertilization soil testing in pistachio orchards Why it matters A proper soil test is the foundation of a sound fertilization plan. It prevents wasted costs, salt build-up, and hidden deficiencies.
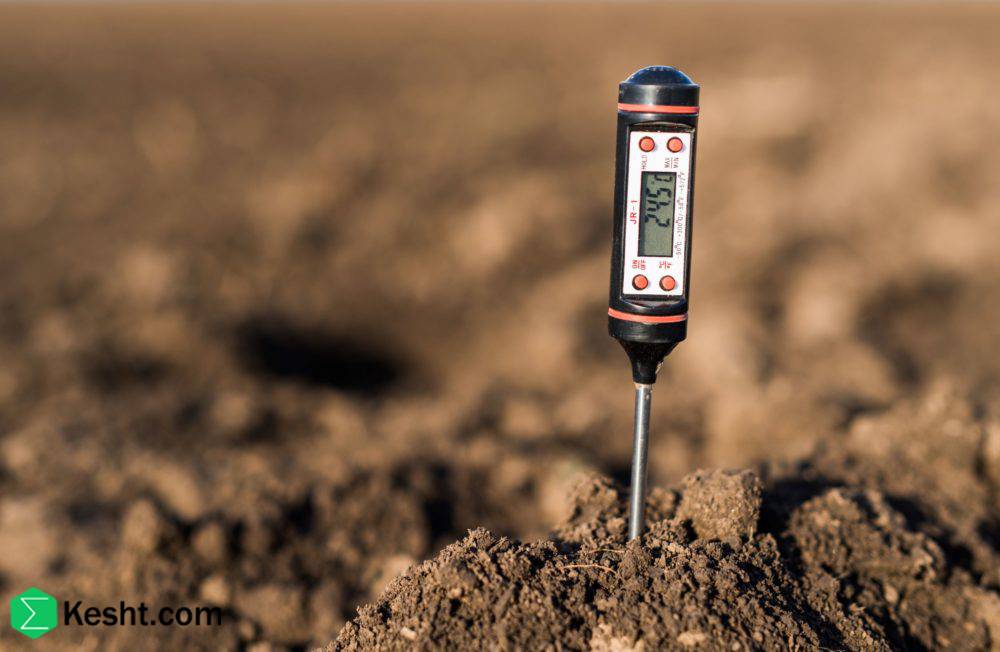
Best timing - Ideal window: Late winter, before the first heavy fertilizations and seasonal irrigations. - Useful alternative: Right after harvest (to assess salinity and residual nutrients). - Distance from inputs/irrigation: - Sample at least 2–4 weeks after the last fertilization. - Wait 2–3 days after the last irrigation/rain so soil moisture is moderate.
Divide the block into management zones - Split the orchard into homogeneous zones by soil texture, slope, cultivar/rootstock, vigor/color (field walk, drone/satellite), and irrigation blocks. - Sample each zone separately; mixing dissimilar areas makes results meaningless.
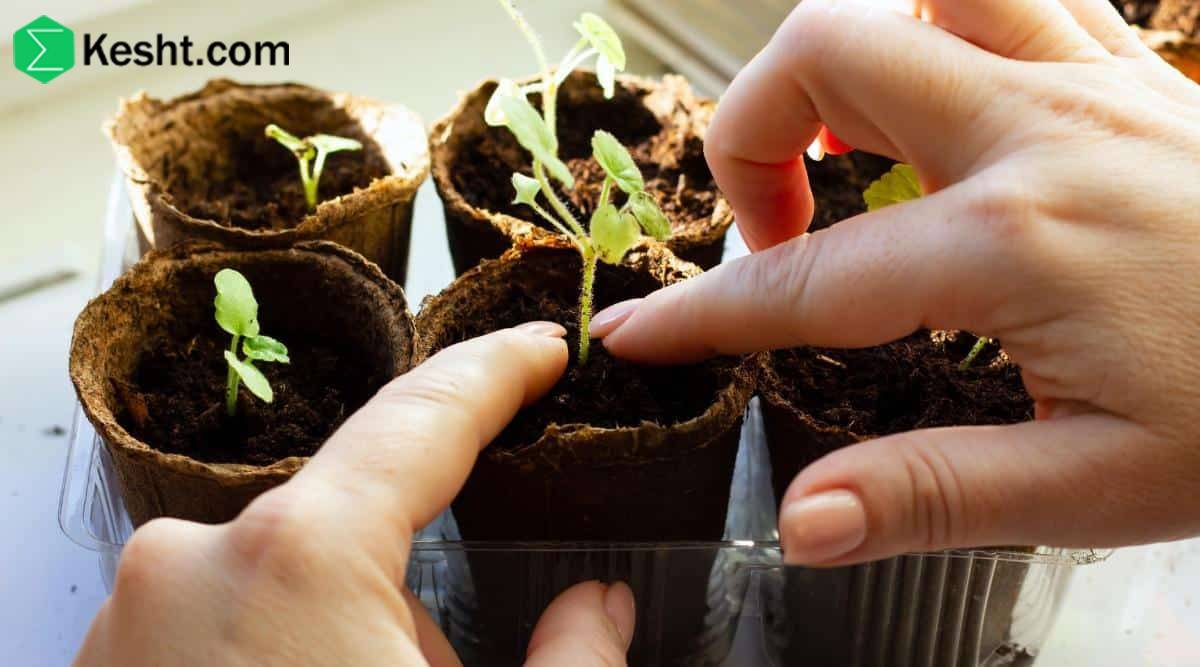
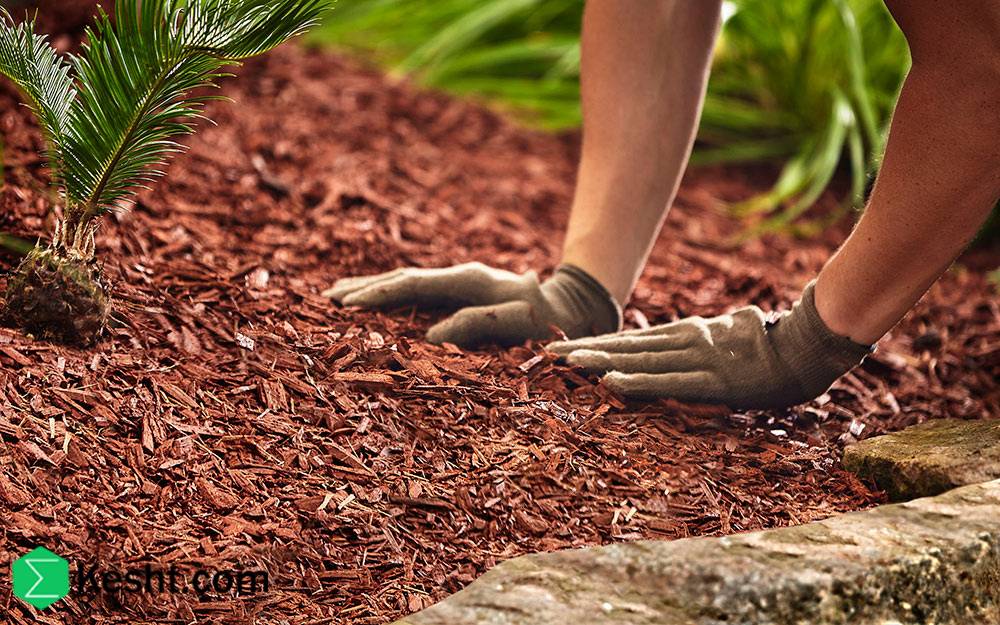
Tools you need - Soil auger/probe or clean stainless-steel spade; clean plastic bucket; heavy zip bags or sample jars; disposable gloves; waterproof marker; labels; GPS/app to log locations. - Note: Avoid galvanized/brass tools when testing micronutrients (risk of Zn/Cu contamination). Depths and number of samples (pistachio-specific) - Depths: 0–30, 30–60, 60–90 cm. For deep rooting or detailed salinity checks, include 90–120 cm. - Number of cores per zone and depth: 10–15 (ideally 15–20) zigzag/random points, then composite. - Position vs. irrigation: - Drip/microjet: sample within the wetted bulb. For salinity monitoring, also take a set from the edge of the wetted bulb (salt accumulation zone). - Flood/furrow–ridge: zigzag across in-row and inter-row; build one composite per depth. - Young trees: 0–30 cm (and 30–60 cm if roots have reached it) is often sufficient. Step-by-step sampling - Remove surface debris (leaves/mulch). - Drive the probe vertically; keep each depth layer separate in a clean bucket. - Repeat across the zone in a zigzag until you have 10–15 cores. - Combine: thoroughly mix soil for each depth in a clean bucket, break clods; remove stones/roots. - Subsample: use quartering to retain ~0.5–1.0 kg per depth. - Label completely: orchard/zone name, irrigation type, depth, date, last irrigation/rain, last fertilization, sampler’s name, coordinates/GPS. Storage and shipping - Keep samples cool and shaded; deliver to the lab within 24–48 hours. - If immediate shipping isn’t possible: air-dry a thin layer in shade (do not oven/heat). For nitrate testing, keep a subsample cold (refrigerated/frozen) to prevent change. - Coordinate with your lab; some prefer moist soil for salinity (ECe) measurements. Which analyses to request (suited to calcareous/semi-saline soils) - General chemistry and salinity: - pH and ECe (saturated paste), soluble ions (Na, Ca, Mg, K, Cl-, SO4^2-, HCO3-), exchangeable sodium/ESP and, if possible, SAR of the saturated paste extract. - Calcium carbonate equivalent (free lime), organic matter, cation exchange capacity (CEC), texture. - Macronutrients: - Mineral N (NO3-N and NH4-N), plant-available P (Olsen-P for calcareous soils), exchangeable K (ammonium acetate extract), exchangeable Ca/Mg, sulfate-S. - Micronutrients: - DTPA-extractable Fe, Zn, Mn, Cu; hot-water–soluble boron (B). - Optional but useful: - Chloride and boron in the saturated paste extract (toxicity risk), gypsum requirement if sodicity is suspected. - Complementary: Test irrigation water at the same time (EC, pH, cations/anions, SAR, boron/chloride) to understand water–soil interactions. Frequency and scheduling - Full panel: every 2–3 years per management zone. - Simple annual check: pre-season for ECe/chloride/nitrate and P, K in 0–30 and 30–60 cm. - Leaf analysis as a complement: mid-summer from mid-shoot leaves on non-fruiting shoots to fine-tune fertilization. Common mistakes that spoil results - Sampling right after fertilizing or with too few cores. - Mixing depths into a single bag. - Sampling atypical spots (next to manure piles, unusual shade, storage areas). - Using dirty/galvanized buckets/tools (Zn/Cu contamination). - Incomplete labels or sample mix-ups. - Ignoring the salt “ring” at the wetted-bulb edge under drip irrigation.
If you are interested, it is recommended that you read the following article / article title:
Organic vs. mineral fertilizers for pistachio seedling and their benefits
https://ekesht.com/en/blog/organic-vs-mineral-fertilizers-for-pistachio-and-their-benefits
We are the “ekesht” platform — a subsidiary of Samin Atlas Iranians and the only official exporter of BlueLabel seedlings in Iran
Why Blue Label?
Because the world only trusts these seedlings!
Ordinary seedlings (without labels or other labels), even if one of them is infected, can destroy your entire garden — without you realizing it!
But the advantage of Blue Label seedlings:
✅Each of them has a global barcode
✅Tested in advanced laboratories
✅Free from any viruses and microbes
✅The only seedlings that are allowed to be legally exported!
This is important for you if:
- You want to build a garden that is productive and hassle-free
- You are looking for a long-term investment in gardening
- You want to start without stress, without losses, without surprises!
Blue Label seedlings = peace of mind
Because when the seedlings are healthy, the garden stays healthy — and real profits come!
Contact us now — before a random seedling destroys your garden!
Healthy Seedlings = Fruitful Garden = Smart Investment
And that’s exactly what we do at ekesht.
ekesht platform (with fifteen years of practical and successful trade experience with Russia, Kazakhstan, Iraq, China, Turkmenistan, Turkey, etc.) is ready to cooperate with people active in the field of agriculture.
For more information and additional information, please contact us via social media, phone call or email
Phone number:
Email:
Social media address: