Business Activities
Protein Products Export & Import
Wholesale Food Products
Seedlings & Agricultural Products
store
blog
News
about us
Contact Us
Login/Register
English
Persian
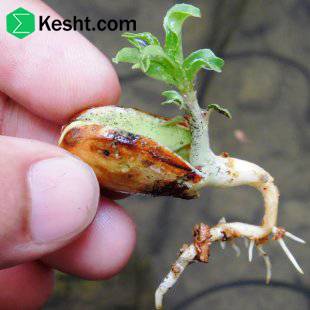
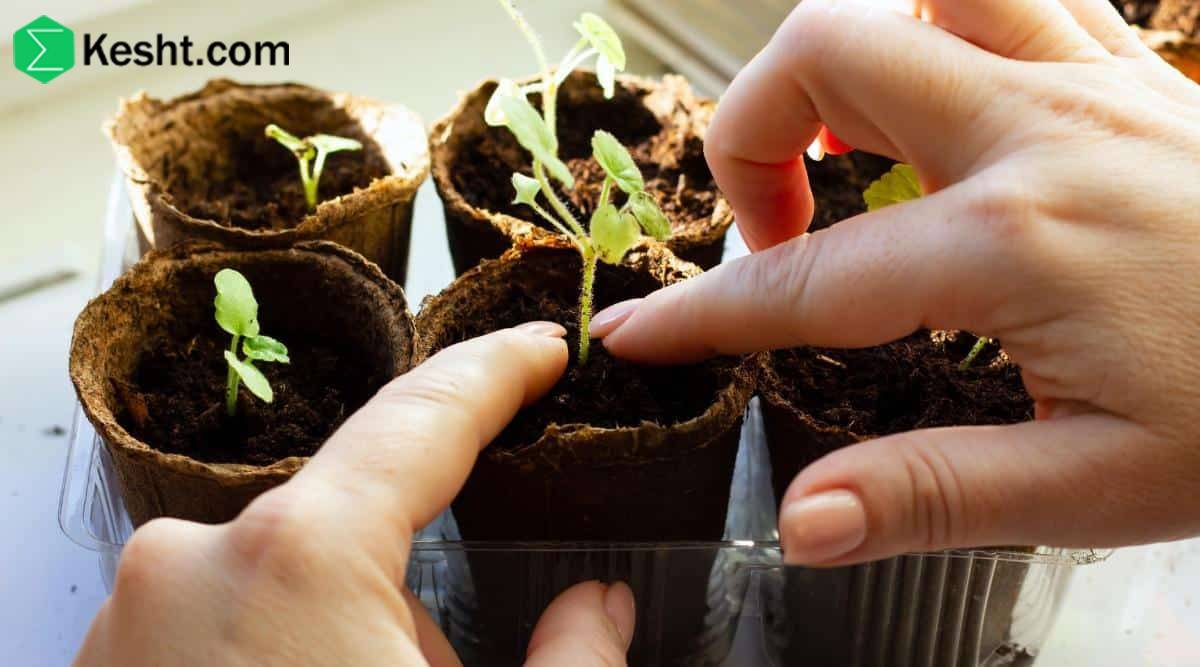
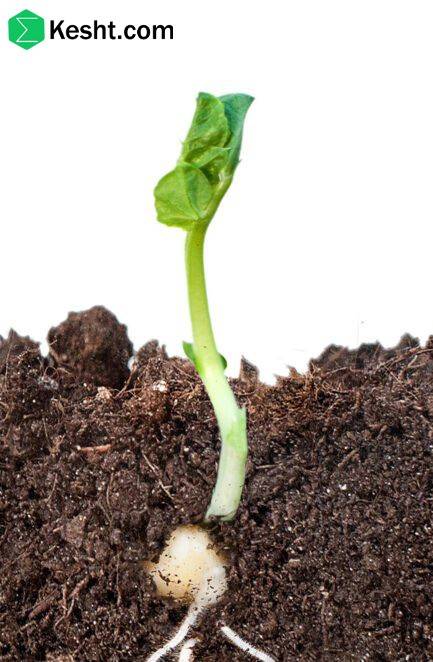
Modern Methods for Planting Pistachio Seedlings
9/2/2025 7:44:00 PM
Nikan Zahrani
ا
Related Articles
The Ultimate Guide to Buying Healthy Fruit Trees: How to Invest Smartly?
authenticity of the seedling sales center
Simple tests to check seedling health at the point of purchase
Guide to diagnosing seedling root health when purchasing
Complete Guide to Buying Healthy, High-Yield, Guaranteed Fruit Trees
How to Choose the Right Seedlings for Your Climate
Lightweight Mulch for Seedlings
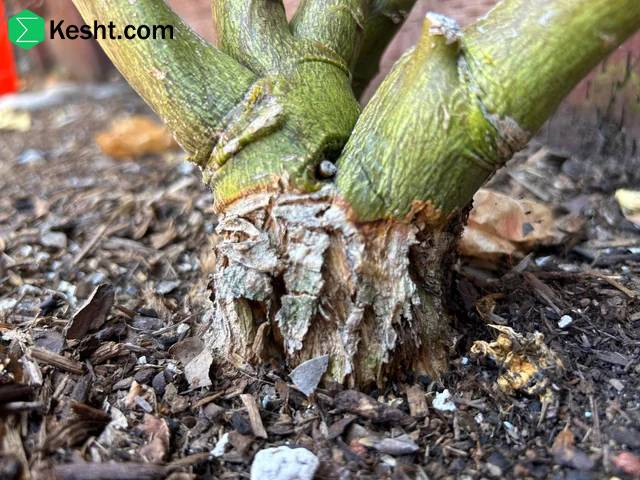
Collar rot in seedlings
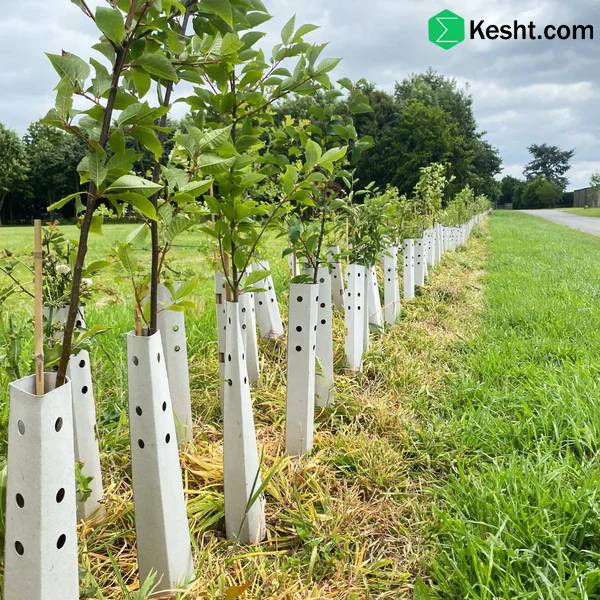
Protective guard for seedlings
Whitewashing of sapling trunks