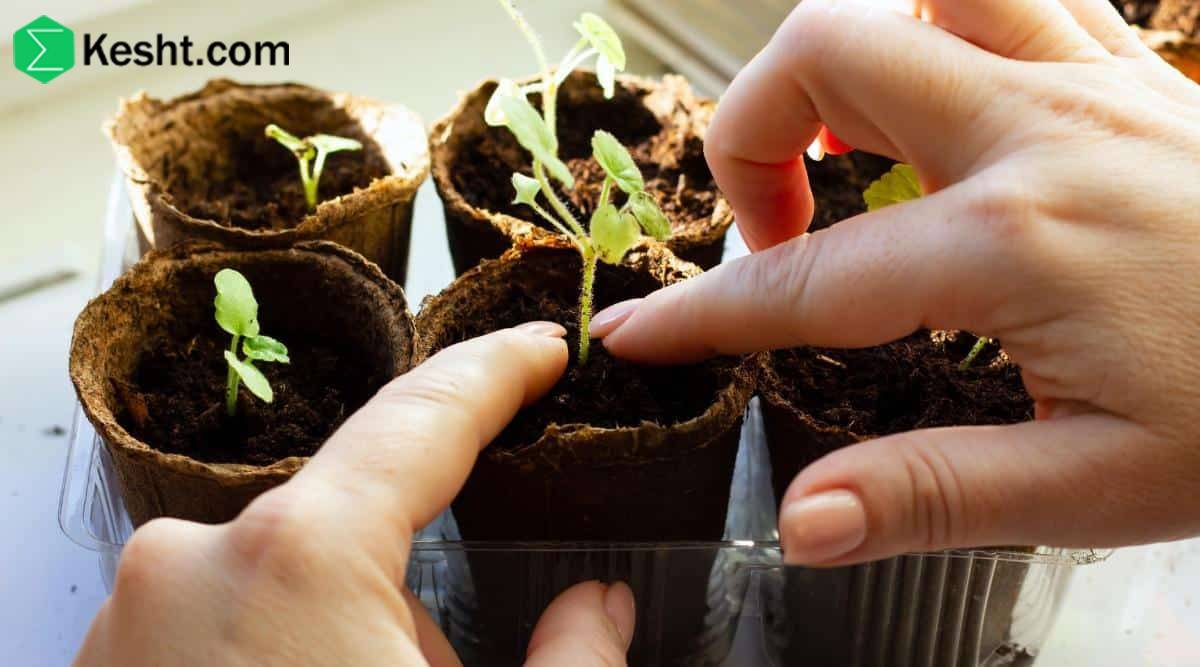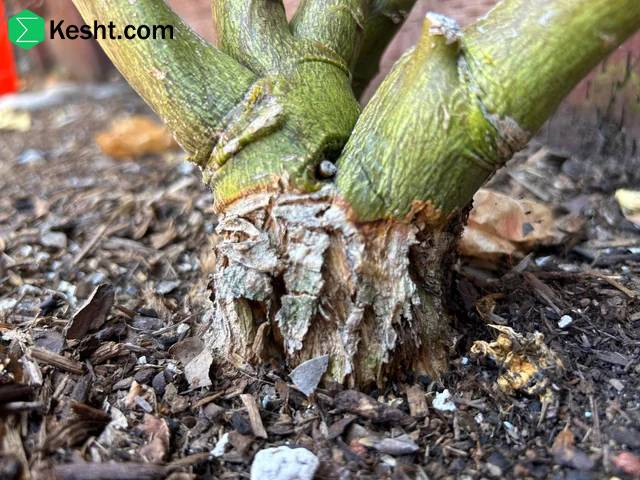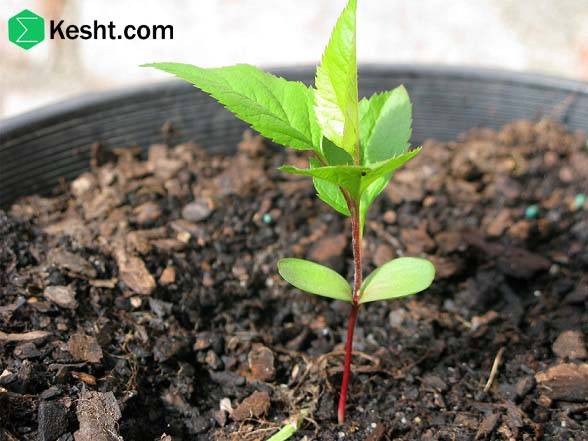
Periodic Soil Testing for seedling
Periodic soil testing is an important method for monitoring soil conditions and optimizing agricultural and gardening practices. Below are the details of this process:
Objectives of Periodic Soil Testing:
Monitoring Changes: Assess changes in soil characteristics such as pH, nutrients, and texture over time.
Identifying Problems: Early detection of issues like nutrient deficiencies or excesses, contamination, and pH changes.
Optimizing Cultivation: Adjusting fertilization and amendment programs based on test results to improve crop performance.
Timing of Testing:
Specific Seasons: Soil tests are typically conducted in late growing season (autumn) and early growing season (spring).
Before and After Planting: Testing before planting seedlings or new plants, as well as after harvest, to evaluate impacts.
Steps for Periodic Soil Testing:
Sample Collection:
Collect samples from various points in the field to represent the entire area well.
Collect samples from a depth of 20 to 30 centimeters.
Testing and Analysis:
Use home testing kits or send samples to specialized laboratories.
Test for pH, nitrogen, phosphorus, potassium, and other nutrient elements.
Interpreting Results:
Compare results with existing standards to identify soil needs.
Pay attention to required amendments and fertilizers.
Using the Results:
Adjusting Fertilization Program: Determine the quantity and type of fertilizer needed based on soil and plant needs.
Soil Amendments: Add soil amendments such as compost, lime, or sulfur if necessary.
Repeating Tests:
It is recommended to repeat soil testing every 2 to 3 years to monitor soil changes and update fertilization programs.
Benefits of Periodic Testing:
Increased Productivity: Improved crop performance through accurate information.
Environmental Protection: Prevention of excessive use of fertilizers and chemicals.
Better Resource Management: Optimization of water and other resource consumption.
Note: Always remember that consulting with agricultural experts can help you interpret results and plan effectively.
If you are interested, it is recommended that you read the following article / article title:
The best time to plant seedlings and check the soil
https://ekesht.com/en/blog/the-best-time-to-plant-seedlings-and-check-the-soil
How to Collect Soil Samples
Collecting soil samples is a crucial step in soil testing that requires precision and attention.
Here are the steps and important tips for collecting soil samples:
Planning for Sample Collection:
Identify Areas: Mark different points in your garden or field. It's best to sample from areas with varying characteristics, such as different vegetation or slopes.
Number of Samples: To obtain a good representation, collect at least 5 to 10 samples from different points.
Required Tools:
Soil Auger: A tool for drilling and collecting soil samples from a specified depth.
Shovel or Trowel: For removing soil from the surface.
Plastic Bags or Clean Containers: For holding the soil samples.
Gloves: To prevent contamination of the samples.
Steps for Collecting Samples:
Digging Soil: Sample soil from a depth of 20 to 30 centimeters. This depth is typically where plant roots are located.
Collecting Samples: Place the soil in a clean container. Approximately 100 to 200 grams of soil is sufficient from each point.
Mixing Samples: Combine the collected samples in a larger container to create a representative sample.
Drying the Sample:
Place the soil sample in a shaded area with good ventilation to dry completely. This helps prevent deterioration and increases testing accuracy.
Labeling:
Label each sample to indicate the collection location and date. This information is crucial for interpreting results.
Important Considerations:
Avoid Contamination: Avoid contact with contaminants such as chemical fertilizers or pesticides while collecting samples.
Weather Conditions: Do not collect samples in wet conditions or immediately after rain, as these conditions can affect test results.
Sampling Diversity: Sample from various points in the garden and at different depths to obtain a better representation of the entire area.
Sending to the Laboratory:
If you plan to send samples to a laboratory, ensure they are placed in clean, dry bags and sent promptly.
By following these steps, you can collect high-quality and representative soil samples that lead to more accurate analyses.
If you are interested, it is recommended that you read the following article / article title:
A comprehensive guide to buying seedlings: key tips for choosing healthy, productive seedlings
https://ekesht.com/en/blog/a-comprehensive-guide-to-buying-seedlings
How Long Does It Take for Soil Samples to Dry?
The time required for soil samples to dry depends on several factors:
Initial Moisture Content:
If the soil is very moist, drying will take longer.
Environmental Conditions:
Temperature: Soil dries faster at higher temperatures.
Humidity: In dry air, soil dries more quickly. Conversely, in humid conditions, this process is slower.
Ventilation: Adequate airflow can help speed up drying.
Sample Size:
Larger samples require more time to dry.
Drying Method:
Air Drying: Typically takes 24 to 48 hours.
Using an Oven or Dehydrator: If you place the soil in an oven at a low temperature (around 40-50 degrees Celsius), it may dry within a few hours.
In general, 24 to 48 hours is sufficient for drying soil samples under natural conditions. However, it is best not to assess the sample until it is fully dry.
If you are interested, it is recommended that you read the following article / article title:
https://ekesht.com/en/blog/blue-label-trees
Where Are Specialized Soil Laboratories Located?
Specialized soil laboratories are typically found in the following locations:
Universities and Educational Institutions:
Many universities and research institutions have soil laboratories that offer testing and consulting services.
Government Agricultural Centers:
Government organizations and agricultural research centers usually have soil laboratories providing services to farmers and gardeners.
Private Companies:
Companies involved in agriculture and gardening may have soil laboratories and offer testing services to customers.
Agricultural Service Centers:
Many local agricultural service centers may also have soil laboratories or collaborate with reputable laboratories.
Agricultural Supply Chains:
Some large agricultural supply stores provide soil testing services to farmers.
How to Find Laboratories:
Online Search: Use keywords like "soil laboratory" or "soil testing services" on the internet to find local options.
Consult Local Farmers: Local farmers and gardeners often have experience working with soil laboratories and can guide you.
Government Organizations: Check the websites related to government agriculture for more information.
Note: Before selecting a laboratory, ensure the quality of their services and their credibility.
If you are interested, it is recommended that you read the following article / article title:
summary of the approximate costs for various microbiological tests on seedlings
Common Soil Tests
Soil tests help you understand the characteristics and quality of your soil. Here are some common tests:
Soil pH Test:
Purpose: To determine the acidity or alkalinity of the soil.
Importance: Soil pH affects the availability of nutrients to plants. The ideal pH for most plants is between 6 and 7.
Nutrient Tests:
Nitrogen (N):
Purpose: To assess the amount of nitrogen in the soil.
Importance: Nitrogen is essential for plant growth; its deficiency can lead to yellowing of leaves and reduced growth.
Phosphorus (P):
Purpose: To determine the phosphorus level in the soil.
Importance: Phosphorus is crucial for root growth and flowering.
Potassium (K): Purpose: To evaluate the potassium content
. Importance: Potassium contributes to the overall health of the plant and helps resist diseases.
Soil Texture Test:
Purpose: To determine the ratio of sand, silt, and clay in the soil.
Importance: Soil texture affects water retention capacity, aeration, and nutrient availability. Generally, loamy soil is the best type for agriculture.
Organic Matter Test:
Purpose: To measure the amount of organic matter in the soil.
Importance: Organic matter improves soil structure, increases water retention capacity, and provides nutrients for plants.
Salinity Test:
Purpose: To determine the amount of soluble salts in the soil.
Importance: High salinity can reduce plant growth and cause problems with water absorption.
Toxic Substances Test:
Purpose: To check for pollutants or toxic substances such as heavy metals (e.g., lead and cadmium).
Importance: Contamination can harm the health of plants and humans.
Cation Exchange Capacity (CEC) Test:
Purpose: To determine the soil's ability to hold cations (positively charged nutrients).
Importance: Soils with high CEC can retain more nutrients, making them more suitable for agriculture.
Soil Moisture Test:
Purpose: To measure the moisture content in the soil.
Importance: Soil moisture is essential for plant growth and determines irrigation needs.
Soil tests provide a better understanding of the needs of your soil and plants, allowing you to design appropriate fertilization and amendment programs. Conducting these tests periodically can help improve soil quality and increase crop yields.
If you are interested, it is recommended that you read the following article / article title:
What types of fertilizers are suitable for soil amendment?
https://ekesht.com/en/blog/what-types-of-fertilizers-are-suitable-for-soil-amendment
How to Interpret Soil Test Results
Interpreting soil test results helps you understand the condition of your soil and its nutrient needs. Here’s how to interpret various soil test results:
Interpreting Soil pH:
pH < 6: The soil is acidic. You may need to add lime to raise the pH.
pH = 6-7: The soil is neutral. This condition is ideal for most plants.
pH > 7: The soil is alkaline. You may need to add sulfur or organic matter to lower the pH.
Interpreting Nutrients:
Nitrogen (N):
Low: May cause yellowing of leaves and reduced growth. You need nitrogen-rich fertilizer.
Medium: Suitable for plant growth.
High: May lead to excessive growth and reduced quality of produce.
Phosphorus (P):
Low: Can lead to reduced flowering and root growth. You need phosphorus fertilizer.
Medium: Suitable for plant growth.
High: May cause soil toxicity and reduce the availability of other nutrients.
Potassium (K):
Low: Can weaken disease resistance and damage fruits. You need potassium fertilizer.
Medium: Suitable for the overall health of the plant.
High: May lead to reduced quality of produce.
Interpreting Soil Texture:
Sandy Soil: Good for drainage but has low water retention. You may need to add organic matter.
Clay Soil: Has high water retention capacity but may become waterlogged in the rainy season.
Loamy Soil: The best type of soil for agriculture, a combination of sand, clay, and organic matter.
Interpreting Organic Matter:
Low: You need to add compost or other organic materials to improve soil structure and increase water retention capacity.
Medium-High: Indicates healthy, rich soil.
Interpreting Salinity:
High Salinity: Can cause problems with plant growth and water absorption. You may need to manage irrigation and tillage.
Interpreting Cation Exchange Capacity (CEC):
Low CEC: The soil may not hold nutrients well. You need organic matter to improve this characteristic.
High CEC: Indicates nutrient-rich soil with a high capacity to retain nutrients.
If you are interested, it is recommended that you read the following article / article title:
https://ekesht.com/en/blog/solid-organic-fertilizers
Final Notes:
Consulting Experts: It is always recommended to discuss results with an agricultural or gardening expert to design the best fertilization and amendment program for your land.
Regular Monitoring: Keeping track of periodic test results can help improve soil quality and crop performance.
Methods to Reduce Soil Salinity
Reducing soil salinity is a significant challenge in agriculture, as high salinity can harm plant health and reduce crop yields. Here are effective methods for reducing soil salinity:
Proper Irrigation:
Frequent Irrigation: Regular and frequent irrigation can help leach accumulated salts from the soil.
Deep Irrigation: Deep and adequate irrigation can move salts deeper into the soil.
Use of Non-Saline Water:
Water Source Selection: Using fresh water for irrigation can help reduce soil salinity.
Planting Salt-Tolerant Crops:
Choosing Suitable Plants: Growing plants that are resistant to salinity can help maintain production under saline conditions.
Adding Organic Matter:
Compost and Organic Materials: Adding compost and organic matter to the soil can improve soil structure and help retain water and nutrients better.
Using Amendments:
Gypsum: Adding gypsum (calcium sulfate) to the soil can help reduce salinity and improve soil structure.
Organic Matter: Such as vermicompost and other organic materials that can enhance soil properties.
Drainage Management:
Improving Drainage: Creating adequate drainage systems can help remove excess water and salts from the soil.
Reducing Chemical Fertilizer Use:
Low-Salinity Fertilizers: Using chemical fertilizers with low salinity and reducing the use of salt-rich fertilizers can help lower soil salinity.
Planting on Raised Beds:
Using Raised Beds: Planting on raised beds can help reduce the contact of plant roots with surface salts.
Vegetative Cover:
Appropriate Vegetative Cover: Vegetative cover can help reduce evaporation and maintain soil moisture.
Reducing soil salinity requires a comprehensive approach that combines various methods. Depending on local conditions and soil type, selecting appropriate methods can improve soil quality and increase crop yields. Consulting agricultural experts can also assist you in choosing the best strategies.
If you are interested, it is recommended that you read the following article / article title:
Comprehensive Guide to Planting Saplings and Post-Planting Care
https://ekesht.com/en/blog/comprehensive-guide-to-planting-saplings-and-post-planting-care