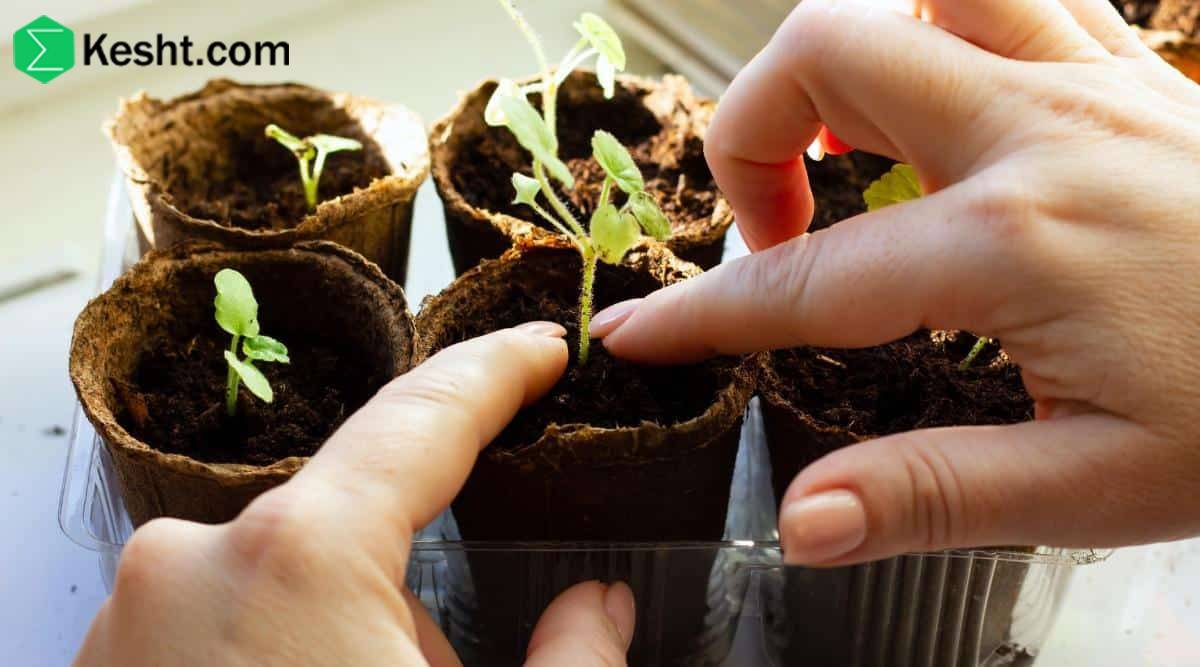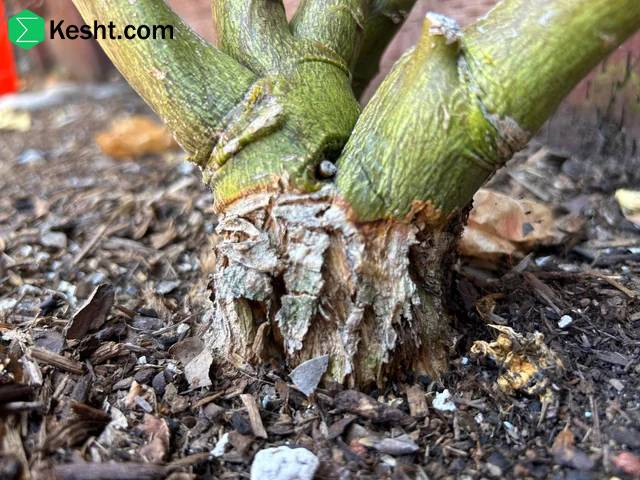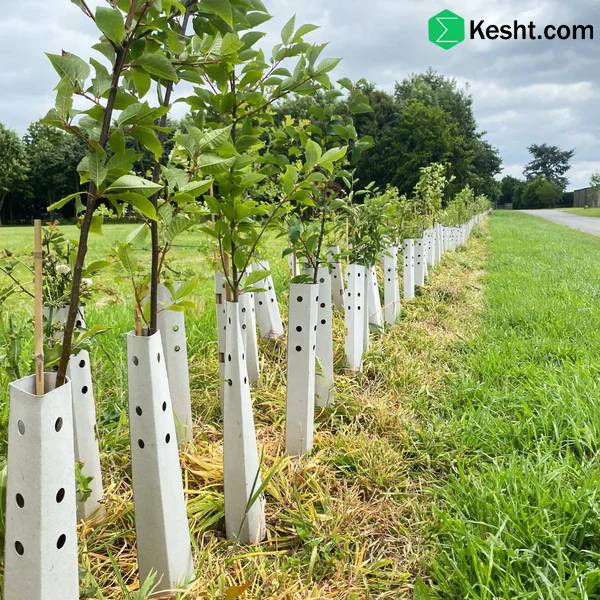
Best Time to Plant Saplings in Iran
Planting saplings in Iran depends on several factors that should be carefully considered. Here are the key points:
If you are interested, it is recommended that you read the following article / article title:
A comprehensive guide to buying seedlings: key tips for choosing healthy, productive seedlings
Optimal Planting Times:
Spring (March to May): The best time for planting fruit trees and ornamental trees. During this season, temperatures gradually increase, promoting better root development.
Autumn (September to November): A suitable time for cold-resistant trees, such as apples and pears. This allows saplings to establish roots before colder weather sets in.
Climate and Weather Conditions:
Hot and Dry Climate: In these areas, it’s best to plant saplings in early spring to protect them from summer heat. Regular watering is crucial.
Moderate Climate: Both spring and autumn planting are effective here, allowing for greater diversity in sapling selection.
Cold Climate: Avoid planting saplings in early spring to prevent frost damage.
Soil Type:
Sandy Soils: These warm up quickly and are suitable for early planting.
Clay Soils: The appropriate planting time is slightly later, as these soils warm up more slowly.
Elevation:
In high-altitude areas, planting should occur in early summer after the risk of frost has passed due to lower temperatures.
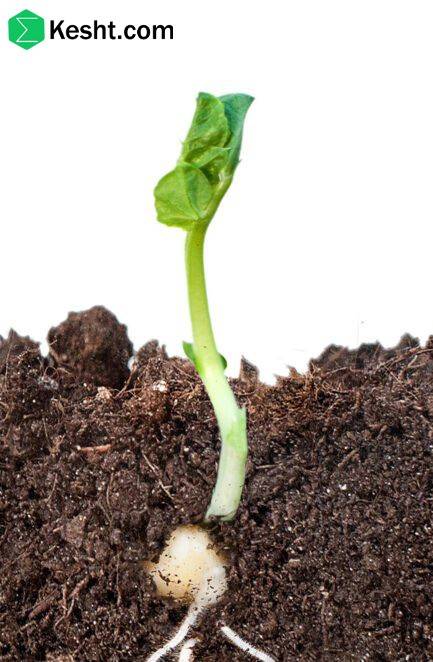
Pre-Planting Requirements:
Soil Testing: Checking the pH and nutrient content of the soil before planting is essential.
Irrigation: Setting up a suitable irrigation system based on the water needs of the saplings.
Recommendations
For each specific region, it’s advisable to determine the exact planting time based on local assessments and climatic conditions. Consulting with local experts can also enhance the success of sapling planting.
By considering these factors, you can optimize your planting strategy for better growth and yield.
If you are interested, it is recommended that you read the following article / article title:
Periodic soil testing
Steps for Soil Testing for Sapling Planting
Collecting Soil Samples:
Site Selection: Choose various points across the land, especially in areas where saplings will be planted.
Sampling: Take samples from a depth of 20 to 30 centimeters. Collect about 100 to 200 grams of soil from each point.
Mixing: Combine the collected samples to create a representative sample of the entire area.
Drying the Sample:
Place the soil sample in a shaded and well-ventilated area to dry completely. This helps remove excess moisture and ensures more accurate test results.
Grinding and Sieving:
Use a hand grinder to crush the dried soil. Then, pass it through a fine sieve to separate larger particles.
Conducting Tests:
Chemical Tests: Use specialized laboratories to check for pH, nitrogen, phosphorus, potassium, and other nutrient levels.
Physical Tests: Assess soil texture (sandy, clayey, loamy) and water retention capacity.
Interpreting Results:
After receiving the results, examine the soil pH. An optimal pH for most saplings is between 6 and 7.
Check the levels of nitrogen, phosphorus, and potassium to determine the soil's fertilization needs.
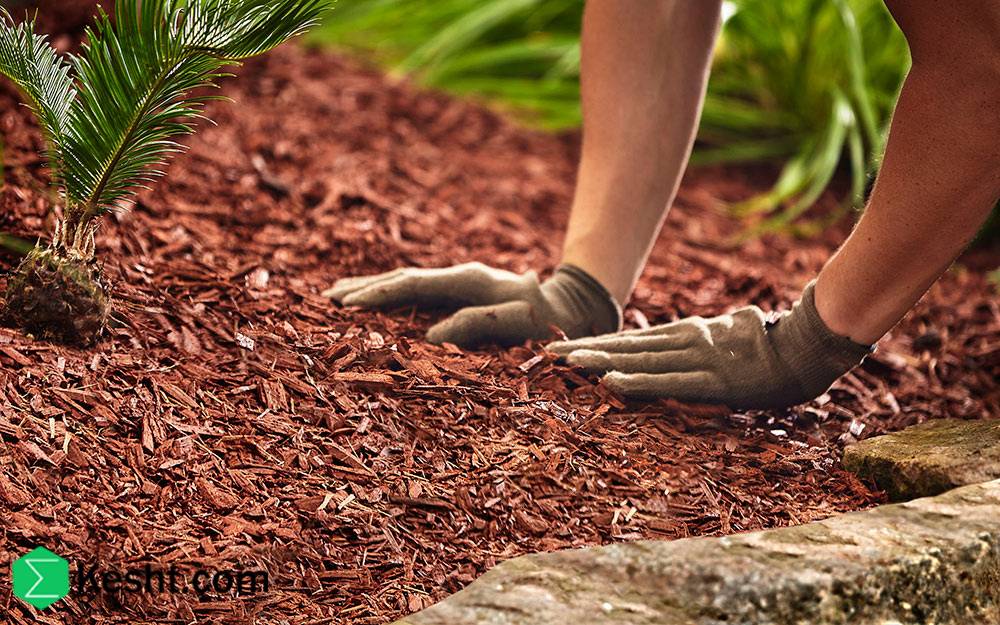
Corrective Actions:
Based on the test results, you may need to amend the soil. This could include adding compost, chemical fertilizers, or soil conditioners to improve soil physical and chemical properties.
Follow-Up:
After planting saplings, it is advisable to periodically repeat soil testing to ensure the soil remains in optimal condition for the growth of the saplings.
Note:
Always consider consulting with soil and agricultural experts to assist you in the testing process and in interpreting the results effectively. This will help ensure successful planting and growth of your saplings.
you can conduct a soil test at home, but the accuracy and reliability of the results may be less than those from professional tests. Here’s how to perform a soil test at home:
Steps for Home Soil Testing
Collecting Samples:
Site Selection: Gather soil samples from various points in your garden or land.
Sampling Depth: Take soil from a depth of 20 to 30 centimeters.
Mixing: Combine the samples to create a representative sample.
Testing Soil pH:
Materials Needed:
1 teaspoon of soil
½ cup of distilled water
Vinegar and baking soda
Method:
Mix the soil with distilled water and let it sit for a few minutes.
Add a few drops of vinegar. If bubbles form, the soil is acidic.
Then, add a few drops of baking soda. If bubbles form, the soil is alkaline.
If there is no reaction, the soil pH is close to neutral.
Testing Nutrients:
Materials Needed: Soil testing kits available in the market that include tests for nitrogen, phosphorus, and potassium.
Method:
Follow the instructions provided in the kit and mix the soil sample with the chemicals.
Compare the color change with the color chart included in the kit to determine nutrient levels.
Testing Soil Texture:
Method:
Fill a clear container with water and add soil, mixing it well.
Let it sit for a few hours for heavier particles to settle at the bottom and lighter particles to float on top.
Observe the different layers to determine the soil texture (sandy, clayey, or loamy).
Interpreting Results:
Compare the test results with information from reliable sources to identify soil needs.
Note:
While home testing can provide useful preliminary information, for more accurate results and in-depth analysis, it is recommended to use specialized laboratories.
If you are interested, it is recommended that you read the following article / article title:
What types of fertilizers are suitable for soil amendment?
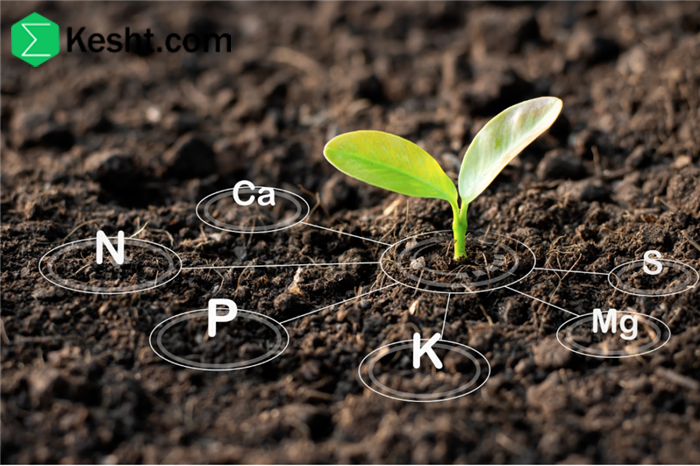
Here's a detailed explanation of how to interpret the results of soil tests, which will help you understand the condition of your soil and determine necessary amendments:
Soil pH
pH Scale: The pH scale ranges from 0 to 14.
pH < 6: Indicates acidic soil, which may reduce the availability of certain nutrients like calcium and magnesium.
pH = 6-7: Represents neutral soil. This is the ideal condition for most plants.
pH > 7: Indicates alkaline soil, where the availability of nutrients like iron and manganese may be diminished.
Nutrient Levels
Nitrogen (N):
Low: Leads to stunted growth and yellowing of leaves.
Medium: Supports healthy plant growth.
High: Can cause excessive growth and reduce fruit quality.
Phosphorus (P):
Low: Can result in poor growth and reduced flowering.
Medium: Supports root development and flowering.
High: May lead to soil toxicity and decreased availability of other nutrients.
Potassium (K):
Low: Weakens disease resistance and increases fruit damage.
Medium: Contributes to overall plant health.
High: May lead to issues like reduced fruit quality.
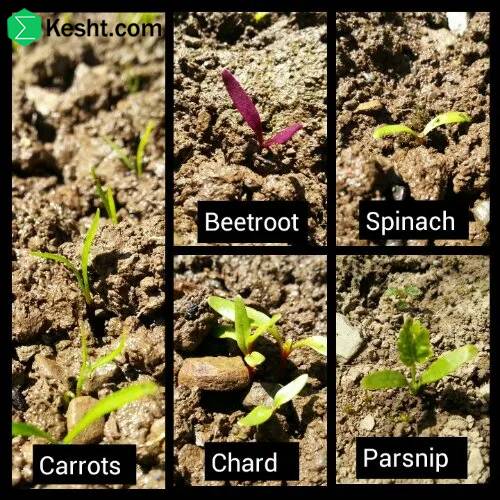
Soil Texture
Sandy Soil: Has larger particles and low water retention capacity. It warms up quickly but may not be suitable for plants that require consistent moisture.
Clay Soil: Has smaller particles and high water retention capacity. It can become waterlogged during rainy seasons.
Loamy Soil: A combination of sand, clay, and organic matter, considered the best type of soil for agriculture and gardening.
Amendment Needs
Based on pH and nutrient levels, you may need to add amendments:
pH Reducers: Such as sulfur for alkaline soils.
pH Raisers: Such as lime for acidic soils.
Fertilizers: Chemical or organic fertilizers to address deficiencies in nitrogen, phosphorus, and potassium.
If you are interested, it is recommended that you read the following article / article title:
Solid organic fertilizers
Final Considerations
It is always advisable to consult with an agricultural or gardening expert to design the best fertilization and amendment plan for your land.
Regular monitoring of soil conditions and periodic testing can help improve soil quality over time.
By interpreting these results carefully, you can make informed decisions about how to manage and amend your soil for optimal plant growth.
We are the “ekesht” platform — a subsidiary of Samin Atlas Iranians and the only official exporter of BlueLabel seedlings in Iran
Why Blue Label?
Because the world only trusts these seedlings!
Ordinary seedlings (without labels or other labels), even if one of them is infected, can destroy your entire garden — without you realizing it!
But the advantage of Blue Label seedlings:
✅Each of them has a global barcode
✅Tested in advanced laboratories
✅Free from any viruses and microbes
✅The only seedlings that are allowed to be legally exported!
This is important for you if:
- You want to build a garden that is productive and hassle-free
- You are looking for a long-term investment in gardening
- You want to start without stress, without losses, without surprises!
Blue Label seedlings = peace of mind
Because when the seedlings are healthy, the garden stays healthy — and real profits come!
Contact us now — before a random seedling destroys your garden!
Healthy Seedlings = Fruitful Garden = Smart Investment
And that’s exactly what we do at ekesht.
ekesht platform (with fifteen years of practical and successful trade experience with Russia, Kazakhstan, Iraq, China, Turkmenistan, Turkey, etc.) is ready to cooperate with people active in the field of agriculture.
For more information and additional information, please contact us via social media, phone call or email
Phone number:
Email:
Social media address: